Visual Studio .NET
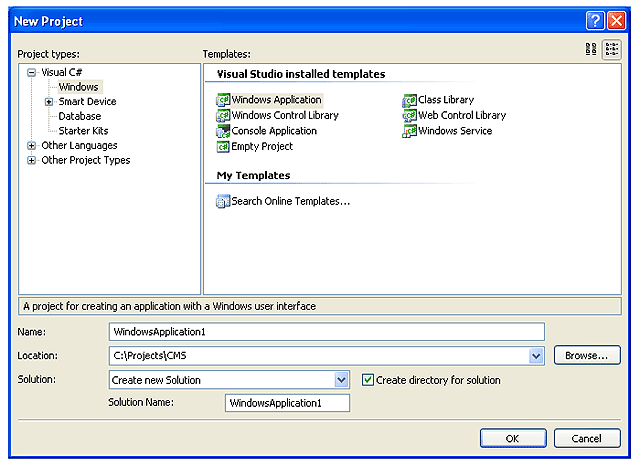
- Start Visual Studio .NET and create a "Windows Application" as shown in the screen shot below.
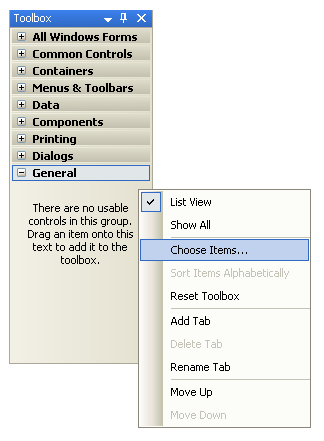
- Open the "Toolbox" and right-click over the "General" selector. Select Choose Items... as show in the screen shot below.
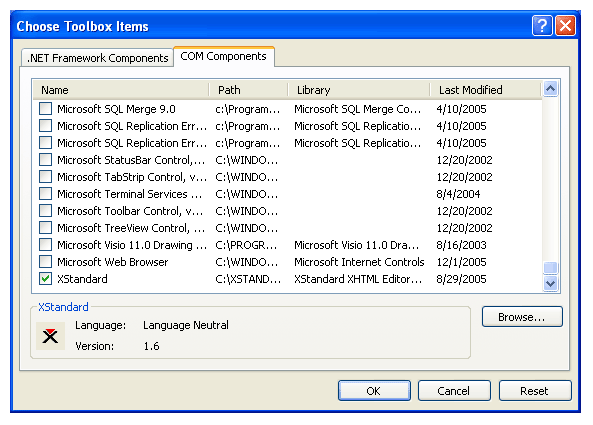
- In the "Choose Toolbox Items" dialog box, select "COM Components" tab and check off "XStandard" at the bottom of the list as shown in the screen shot below.
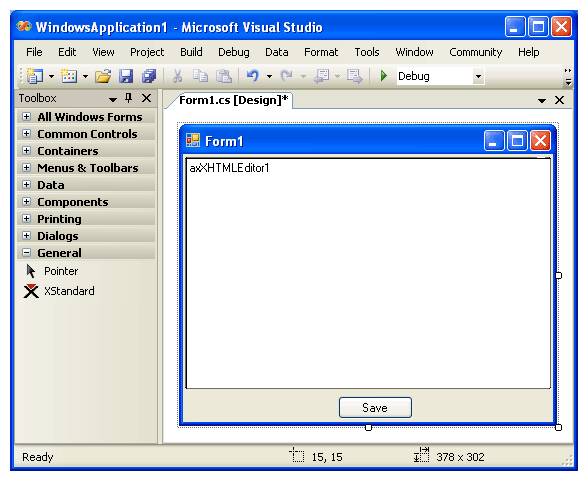
- XStandard will be added to the "Toolbox". Select it and add it to a form as shown in the screen shot below.
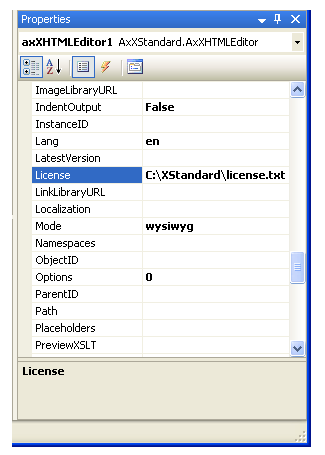
- Set the properties for the editor via the properties dialog box as shown in the screen shot below.
Tips
Managing configuration files
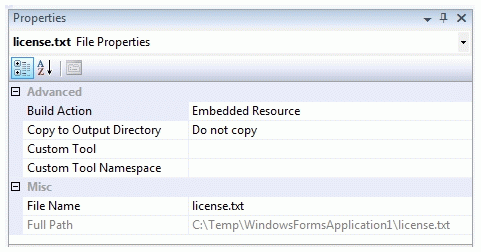
You can store the XML file for the Styles drop-down list, CSS, XML file for the toolbar buttons and the license file as an Embedded Resource. You can then programmatically reference these files. For example, drag the license.txt file into your project. Click on the license.txt file in the Solution Explorer and in the Properties windows, set the Build Action to Embedded Resource as shown in the screen shot below.
The text of the license file can then be passed to the editor's License property like this:
System.IO.Stream s;byte[] b;System.Text.StringBuilder code = new System.Text.StringBuilder();s = System.Reflection.Assembly.GetExecutingAssembly().GetManifestResourceStream("WindowsFormsApplication1.license.txt");b = new byte[System.Convert.ToInt32(s.Length)];s.Read(b, 0, System.Convert.ToInt32(s.Length));axXHTMLEditor1.License = System.Text.ASCIIEncoding.ASCII.GetString(b);
Using XStandard on 64-bit OS
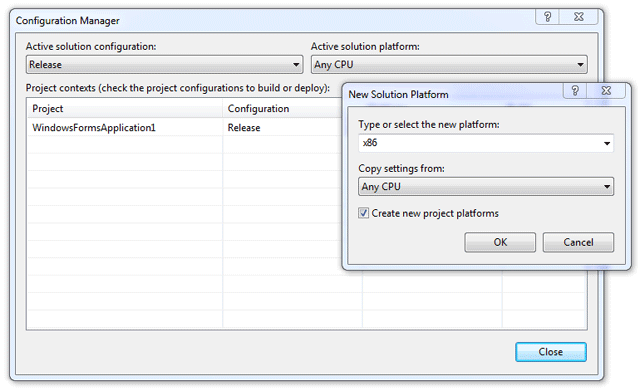
XStandard is a 32-bit component so you will need to compile your .NET WebForms application to x86 platform. From the Build menu, select "Configuration Manager...". In the "Active solution platform" field, select x86. If this value is not present, select <New...> and in the "New Solutions Platform" pop-up, select x86 in the drop-down list as shown in the screen shot below.
